For the 2024 eclipse, my wife and I decided to make the trip from Stockholm to Texas to get a chance to witness it. Being a photographer, I also wanted to try my hand at shooting the event.
At the same time, I knew that totality would only last for about 3.5 minutes, and I sure didn’t want to spend all of it staring at my camera. So I decided to automate the process.
The challenge
When you only have three minutes to shoot an event, preparation is key. I wouldn’t have the time to fiddle with settings, everything should be set by the time totality comes.
A challenge when photographing an eclipse is that there is a large difference in the brightness between the lightest and darkest parts of the sun. The outer ring is very bright (you’re still looking at the sun, after all), but the corona extends pretty far and gets dim very quickly at the edges. In photography parlance, the scene is said to have high dynamic range.
Because of that, one shot is not enough to capture the full extent of the scene. So what I would need to do is you take multiple shots at different levels of luminosity to capture details in different aspects of the scene (a.k.a. braketing), then I could stitch them together in post-processing. Or just select one that I liked best.
Preparation
MrEclipse.com has an excellent guide to eclipse photography, which includes different camera settings to use when bracketing shots.
My lens had a fixed aperture of f/16, so at ISO 400, looking up the information in the table, I would need to have exposures from 1/4000 sec to 4sec.
 The lookup table I used as a reference for the different shutter speeds when bracketing
Automation
I first tried different remote shooting apps but none of them was flexible enough to allow for this level of bracketing. Many of them were also unstable and and I didn’t want to take the risk of an app crashing on me or losing connection when my phone went to sleep.
This is when I decided to automate the process myself. After some research, I found gPhoto2 a long-standing library that can talk to cameras and control them remotely. I also found a ruby gem that provides ruby bindings to use it.
The next step was to create a ruby script to capture the different exposures needed for the bracketing. For safety and to cover for e.g. clouds, I made it so that every shot was taken four times, and ran the whole bracketing loop four times too.
The final script looked like this:
require 'gphoto2'

GPhoto2::Camera.first do |camera|
  speeds = %w[
    1/60
    1/4000
    1/2000
    1/500
    1/250
    1/15
    1/4
    1
    2
    4
  ]
  4.times do
    speeds.map do |speed|
      camera.update(iso: 400, shutterspeed: speed)
      4.times do
        puts "Taking exposure at #{speed}s"
        camera.capture
      rescue
        nil # Cover for unexpected cases when e.g. the camera is busy
      end
    end
  end
end
Result
Once totality started, I ran ruby totality.rb, left the laptop and enjoyed the moment with my family.
I returned to it afterwards, and… everything had worked 🎉 Though many of the shots were black because of cloud coverage, I still got more than enough properly exposed shots to make up for it. And I didn’t need to be at the camera for any of it!
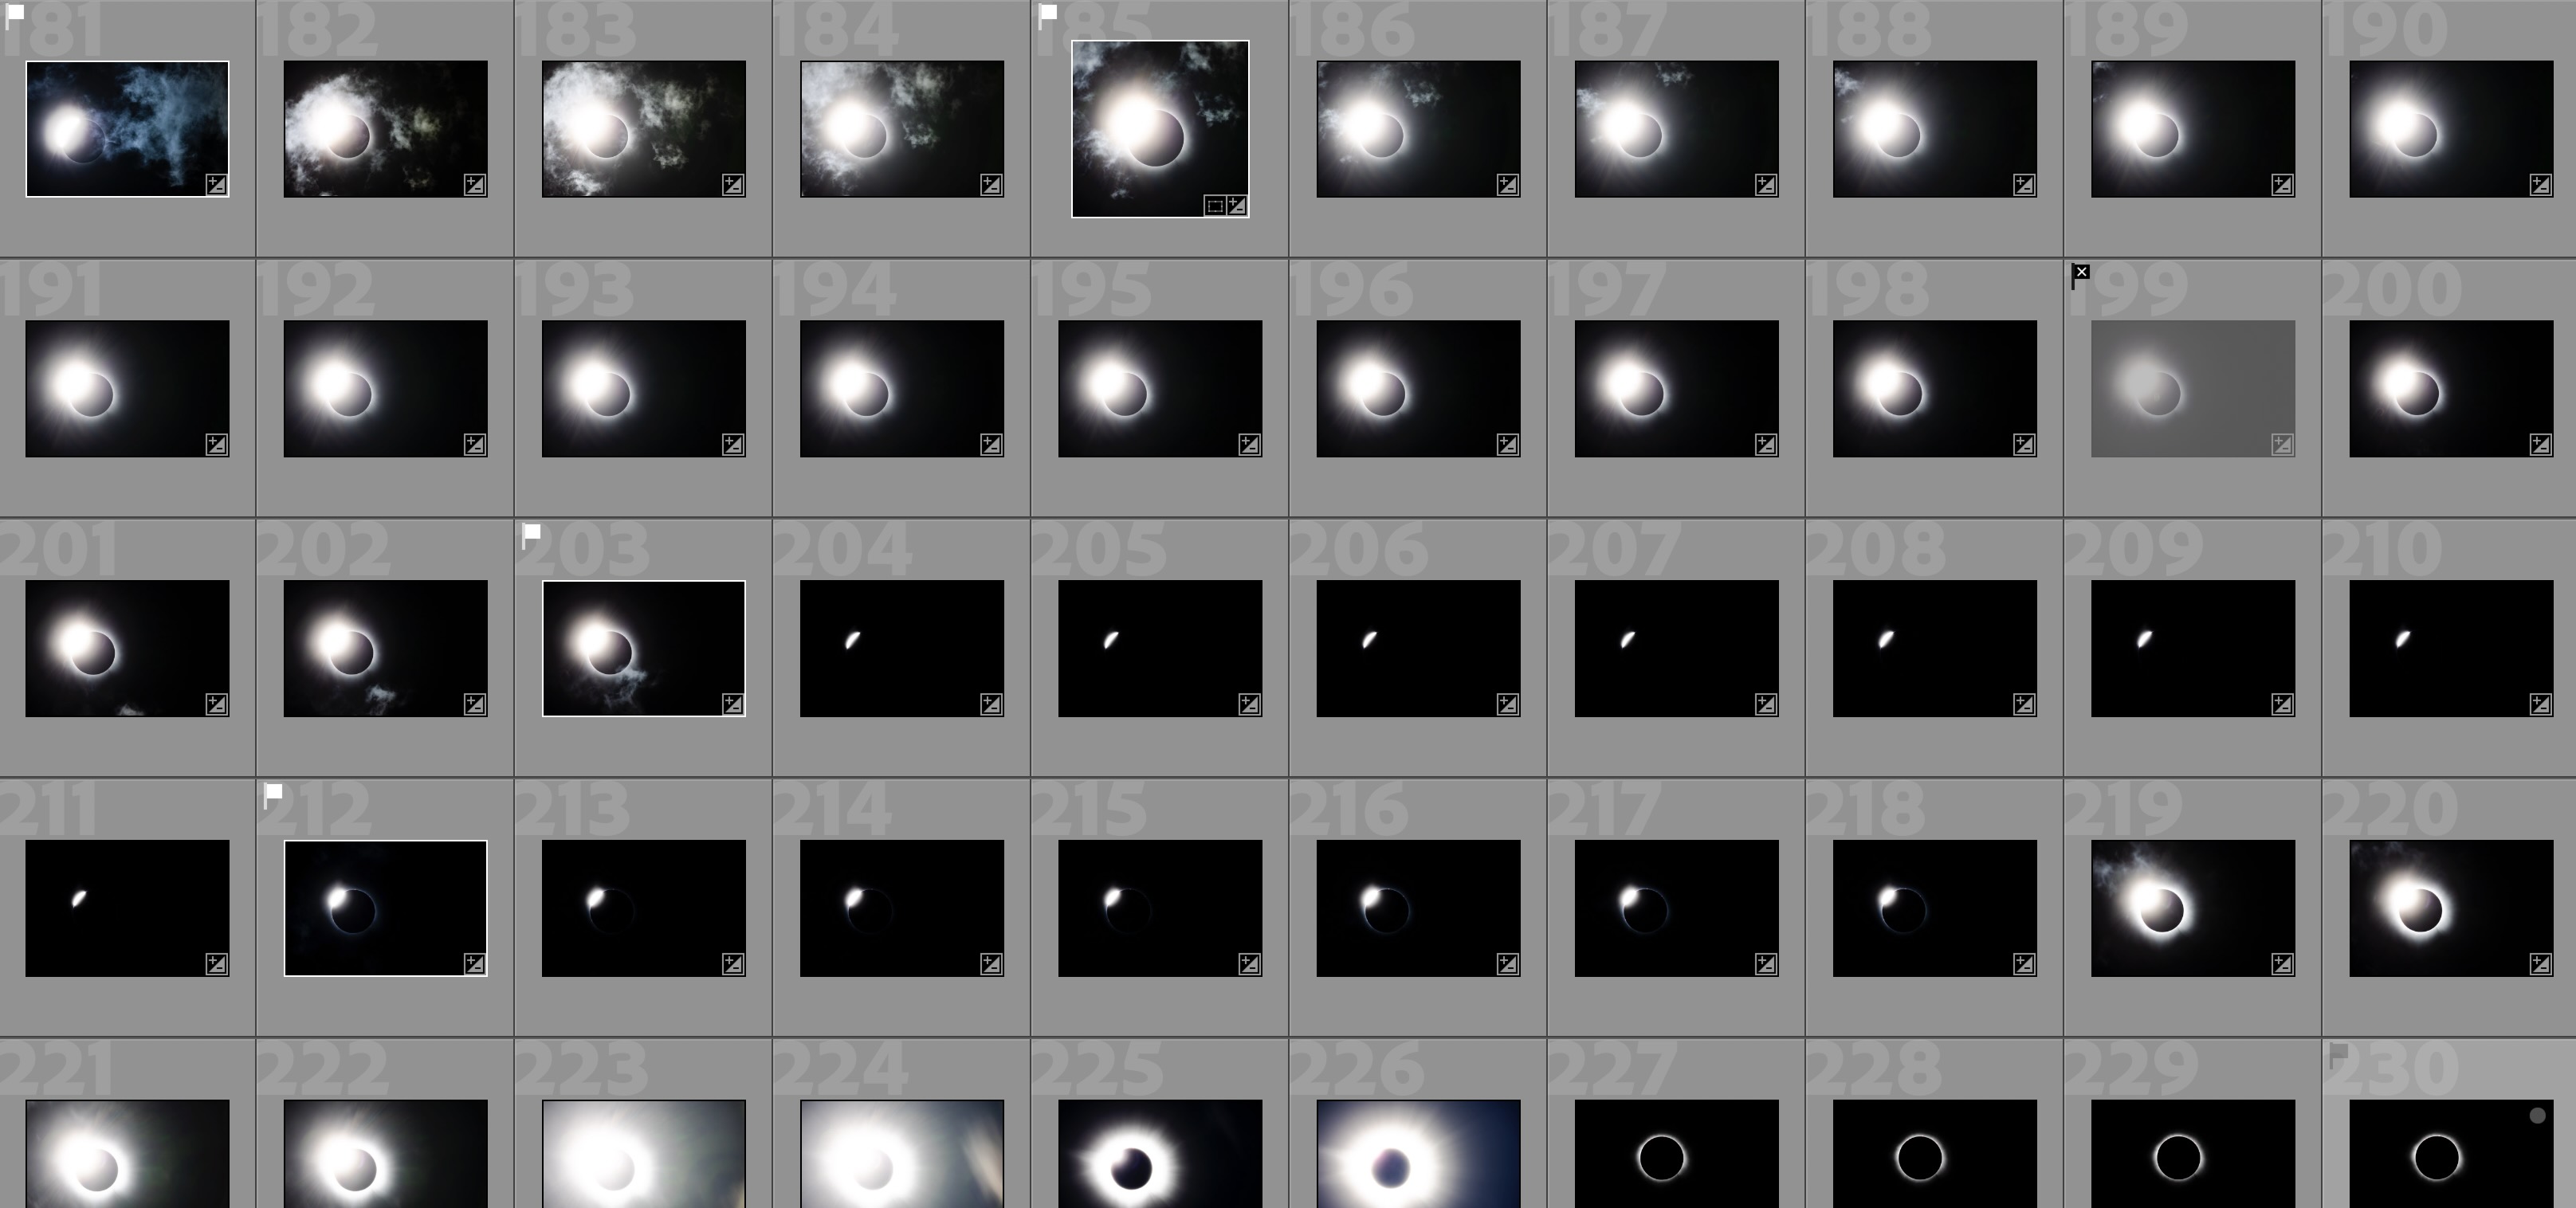 All the pictures taken by the script
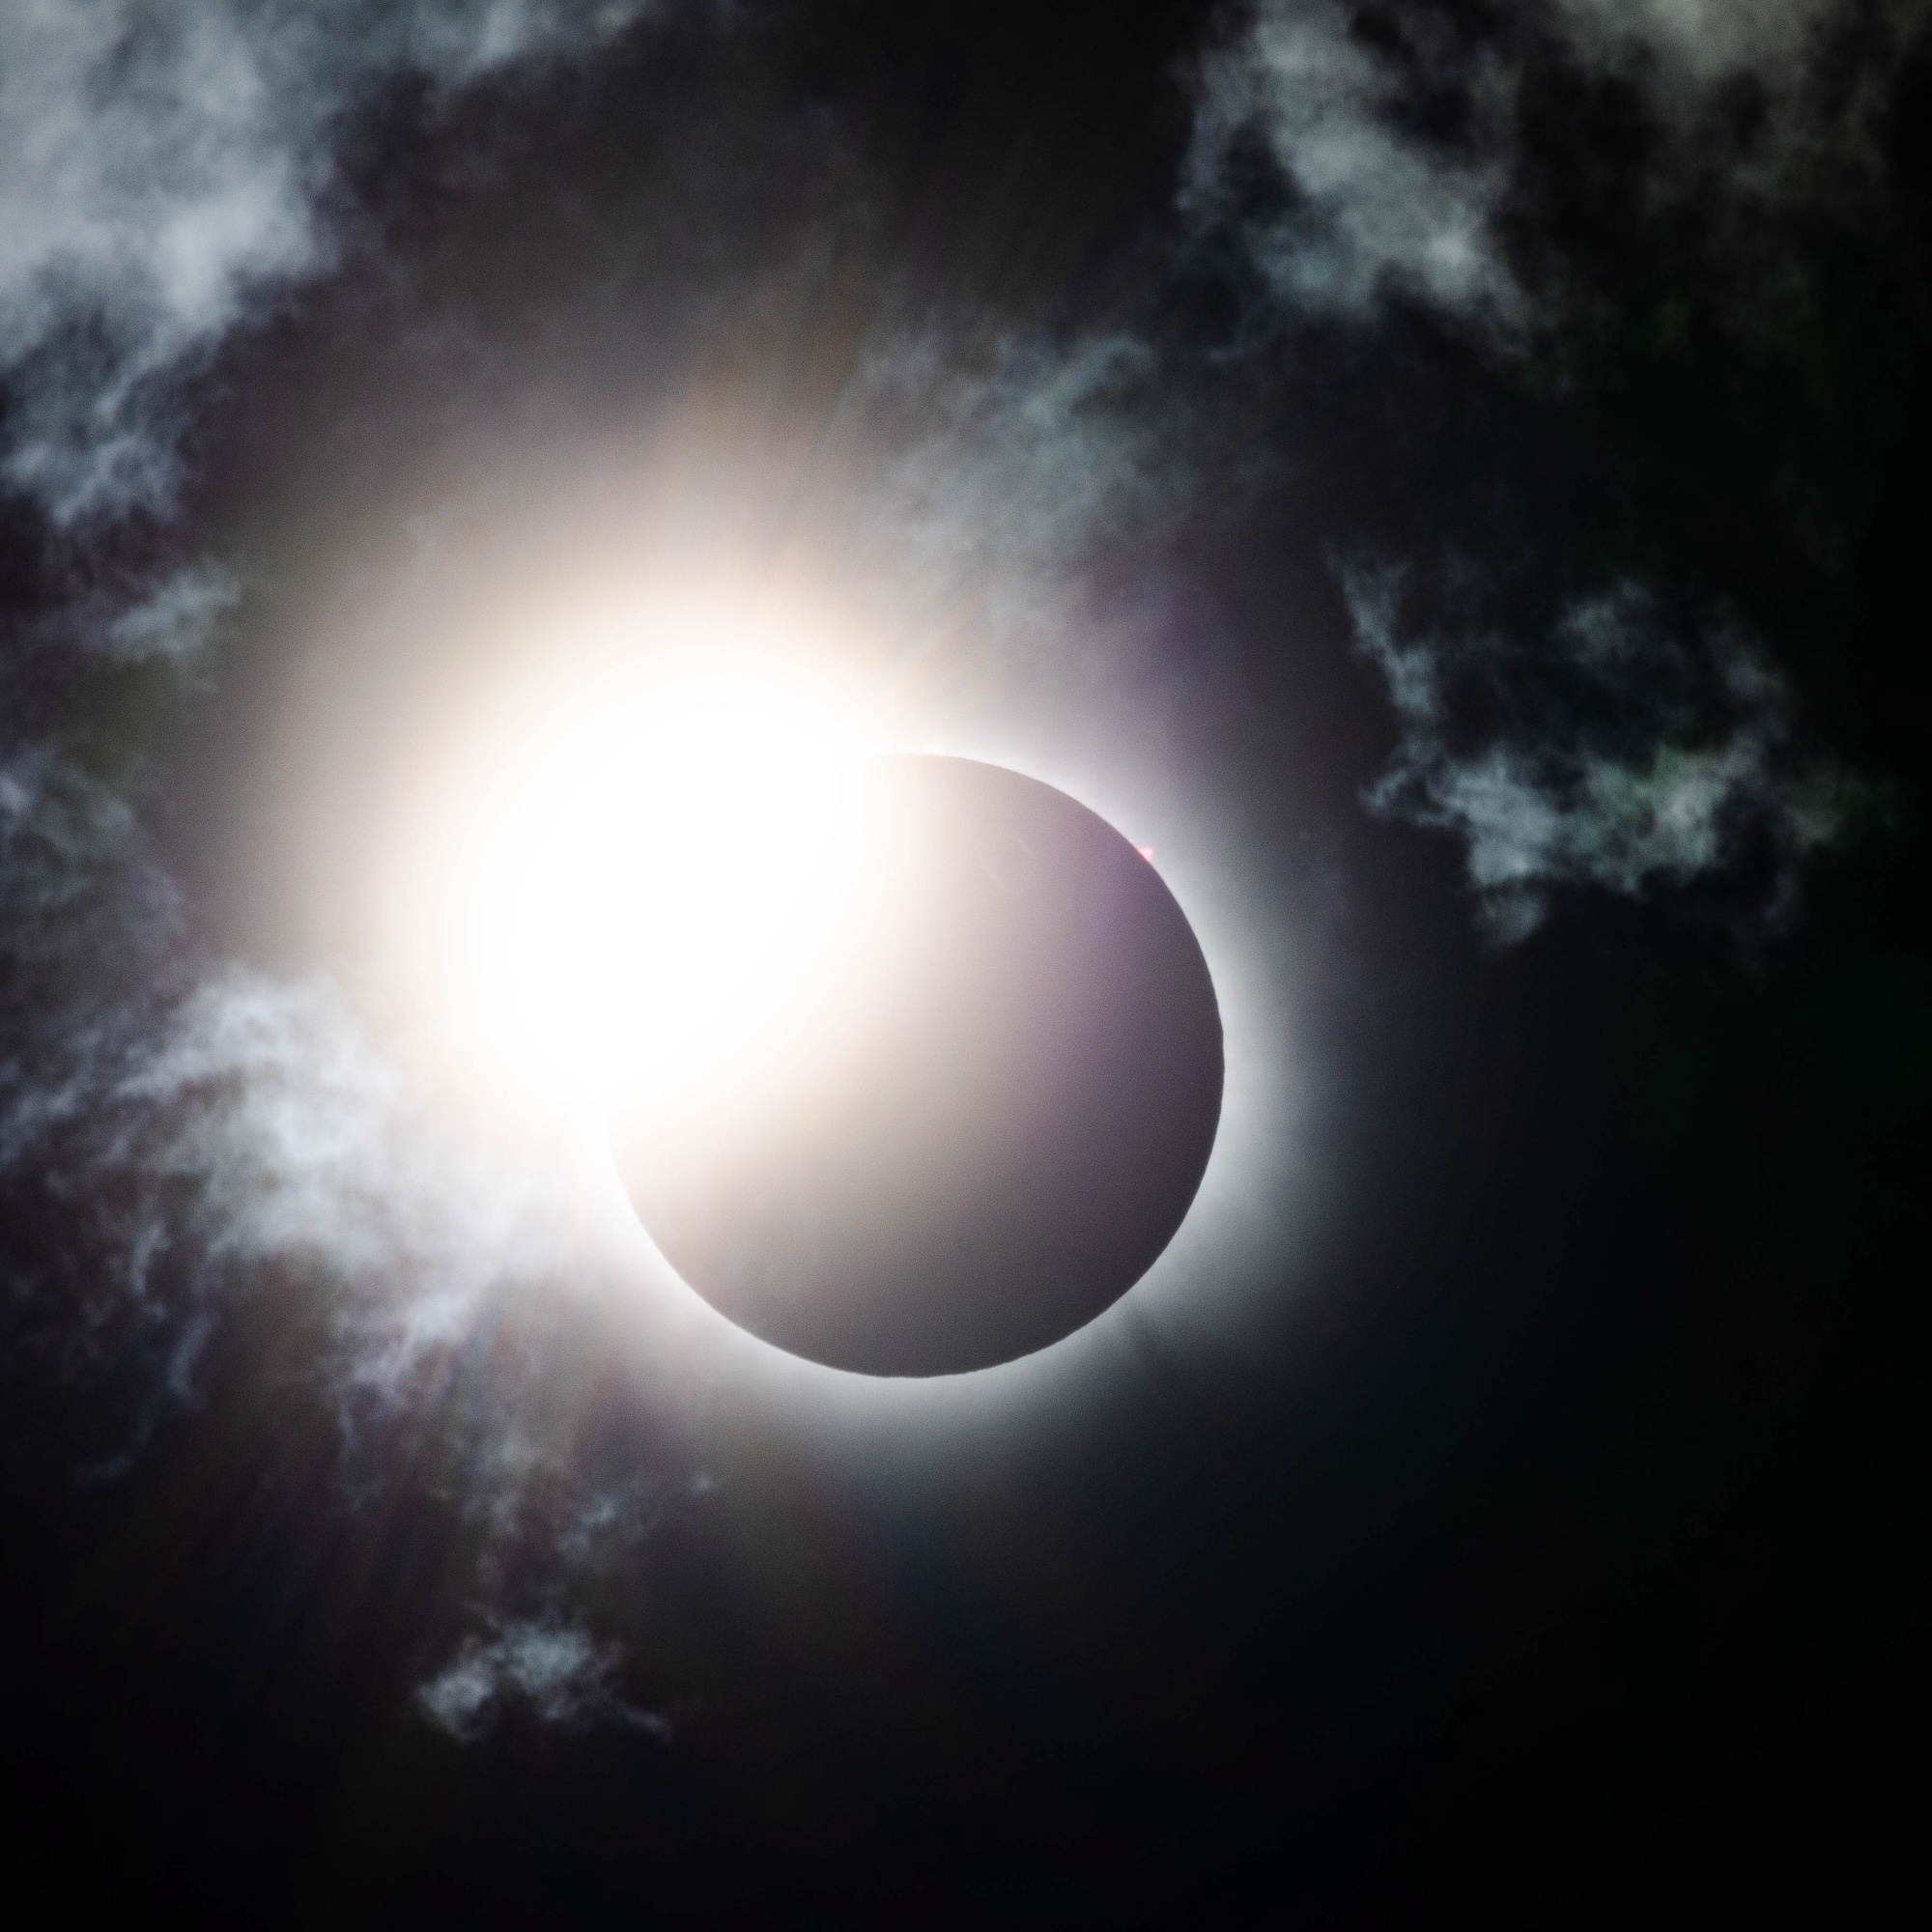 Shot at 1/60s
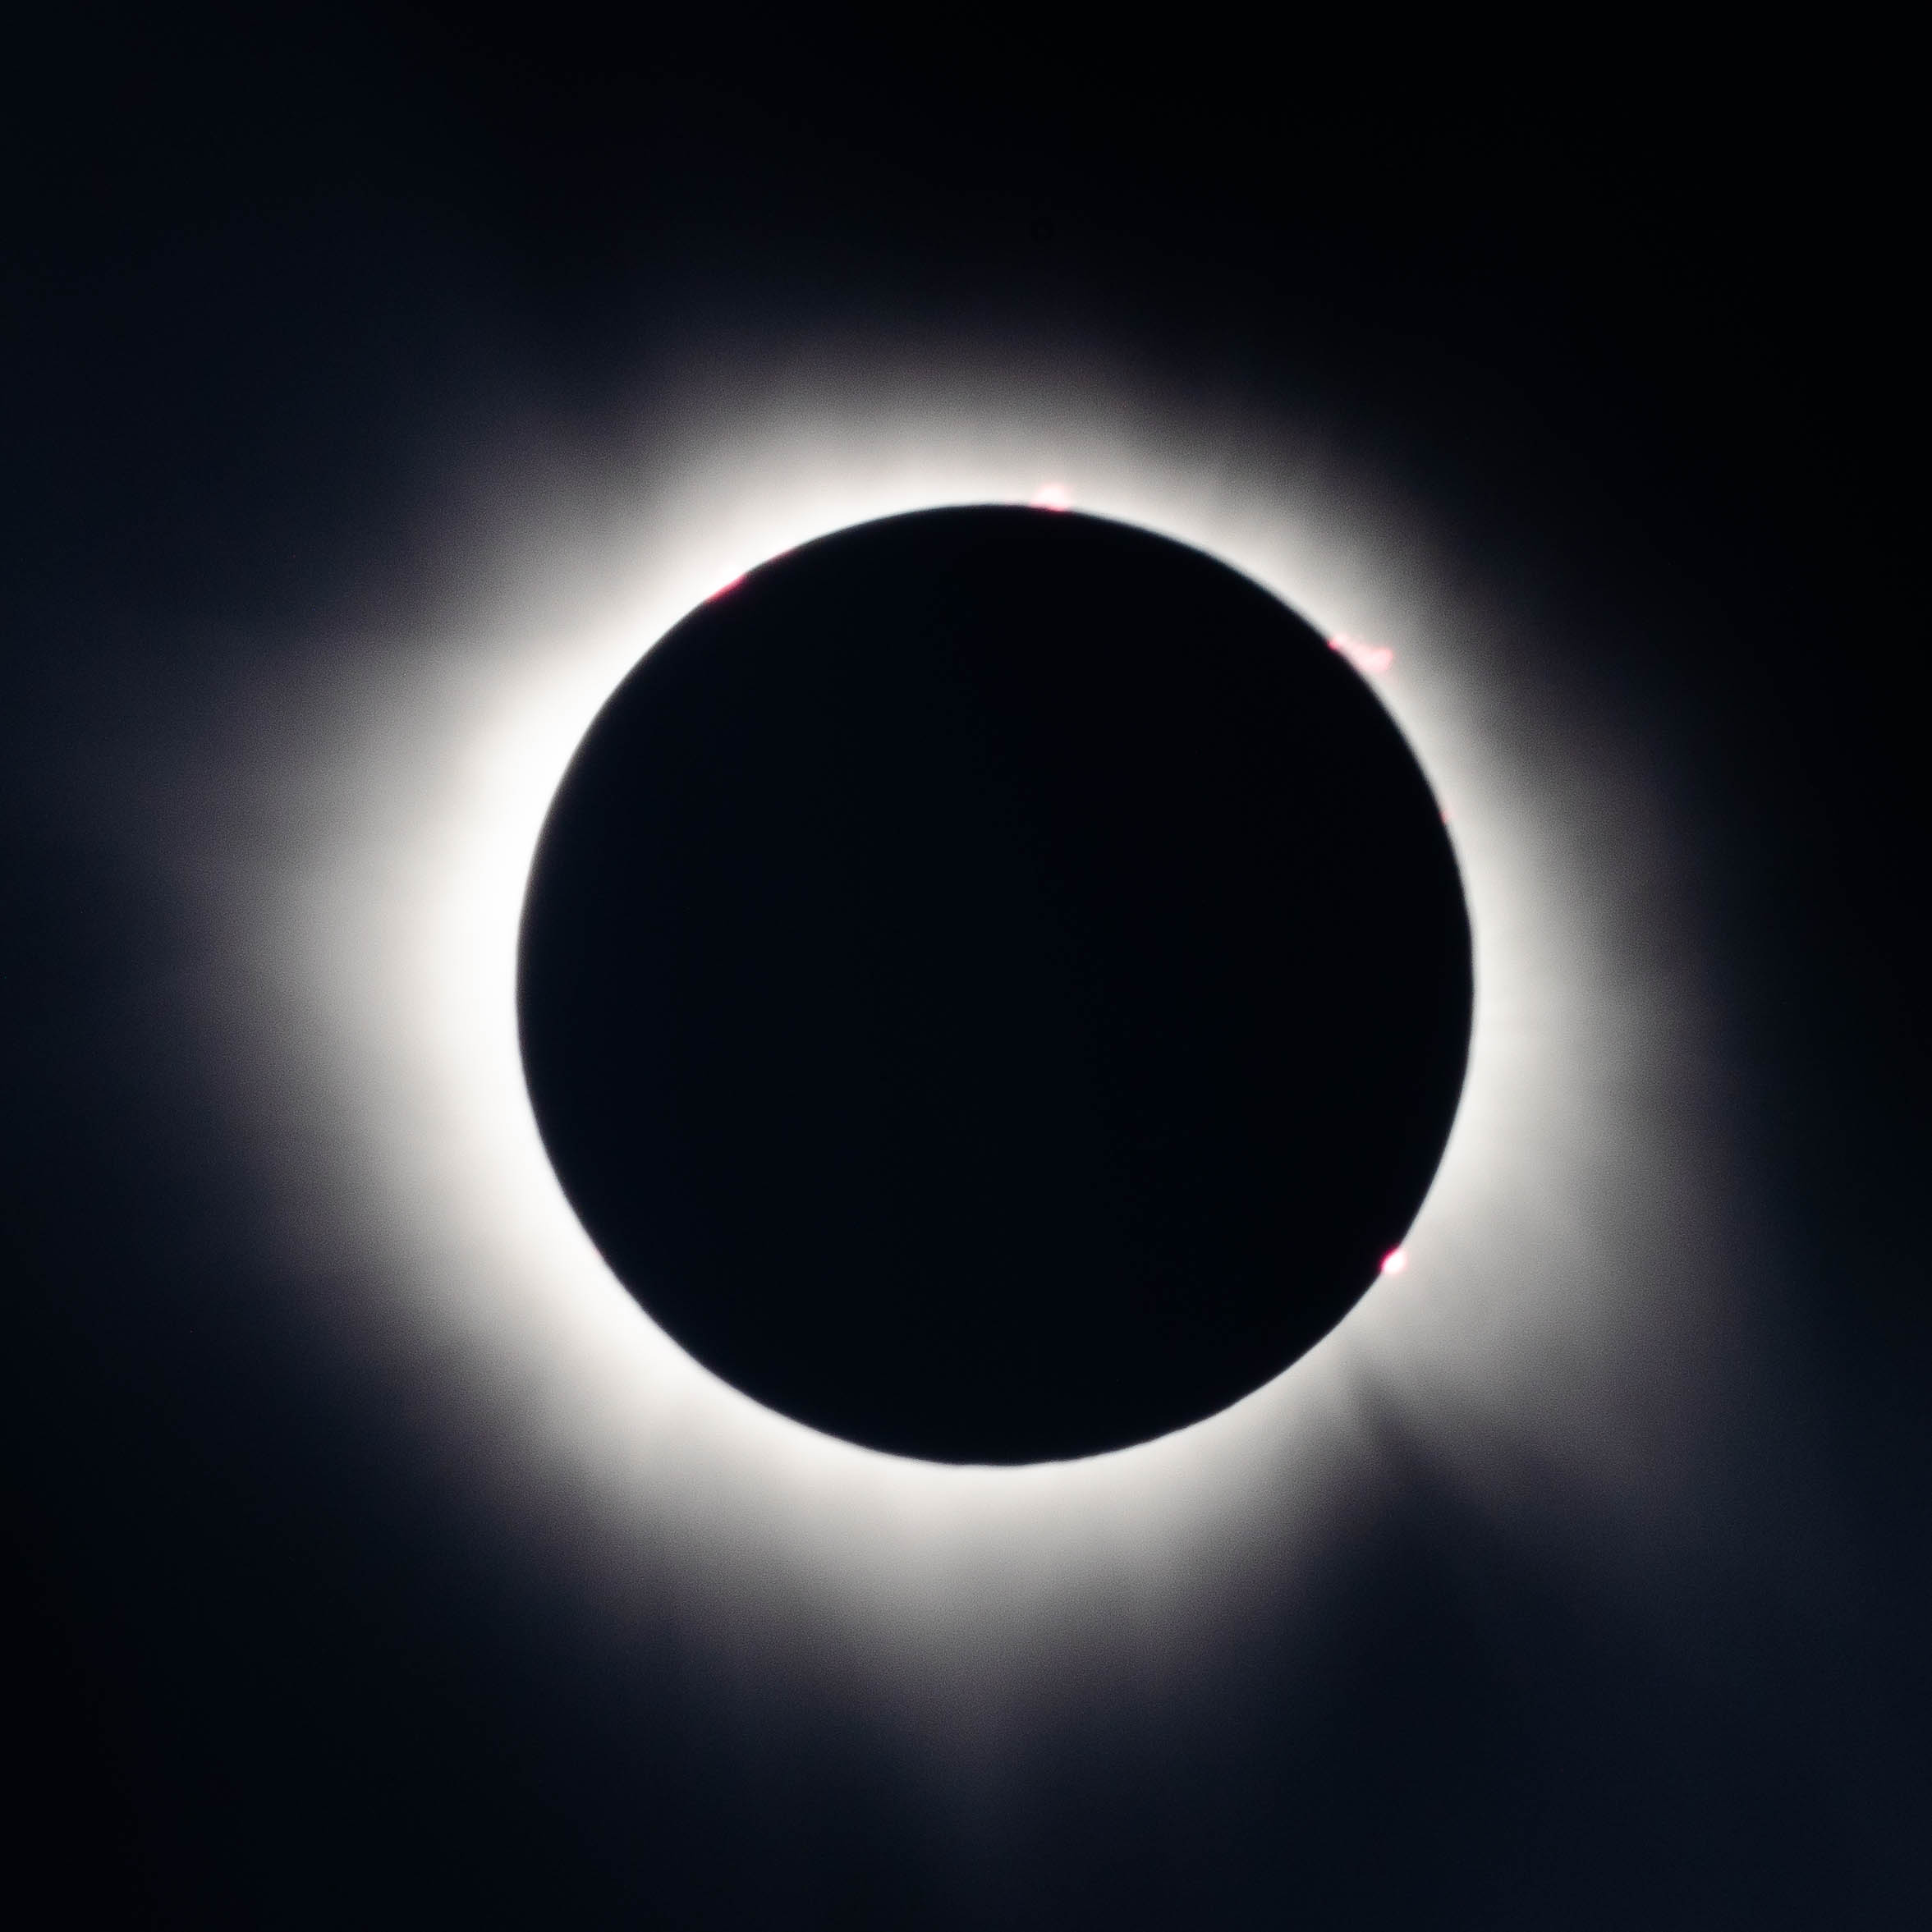
 Shot at 1/15s
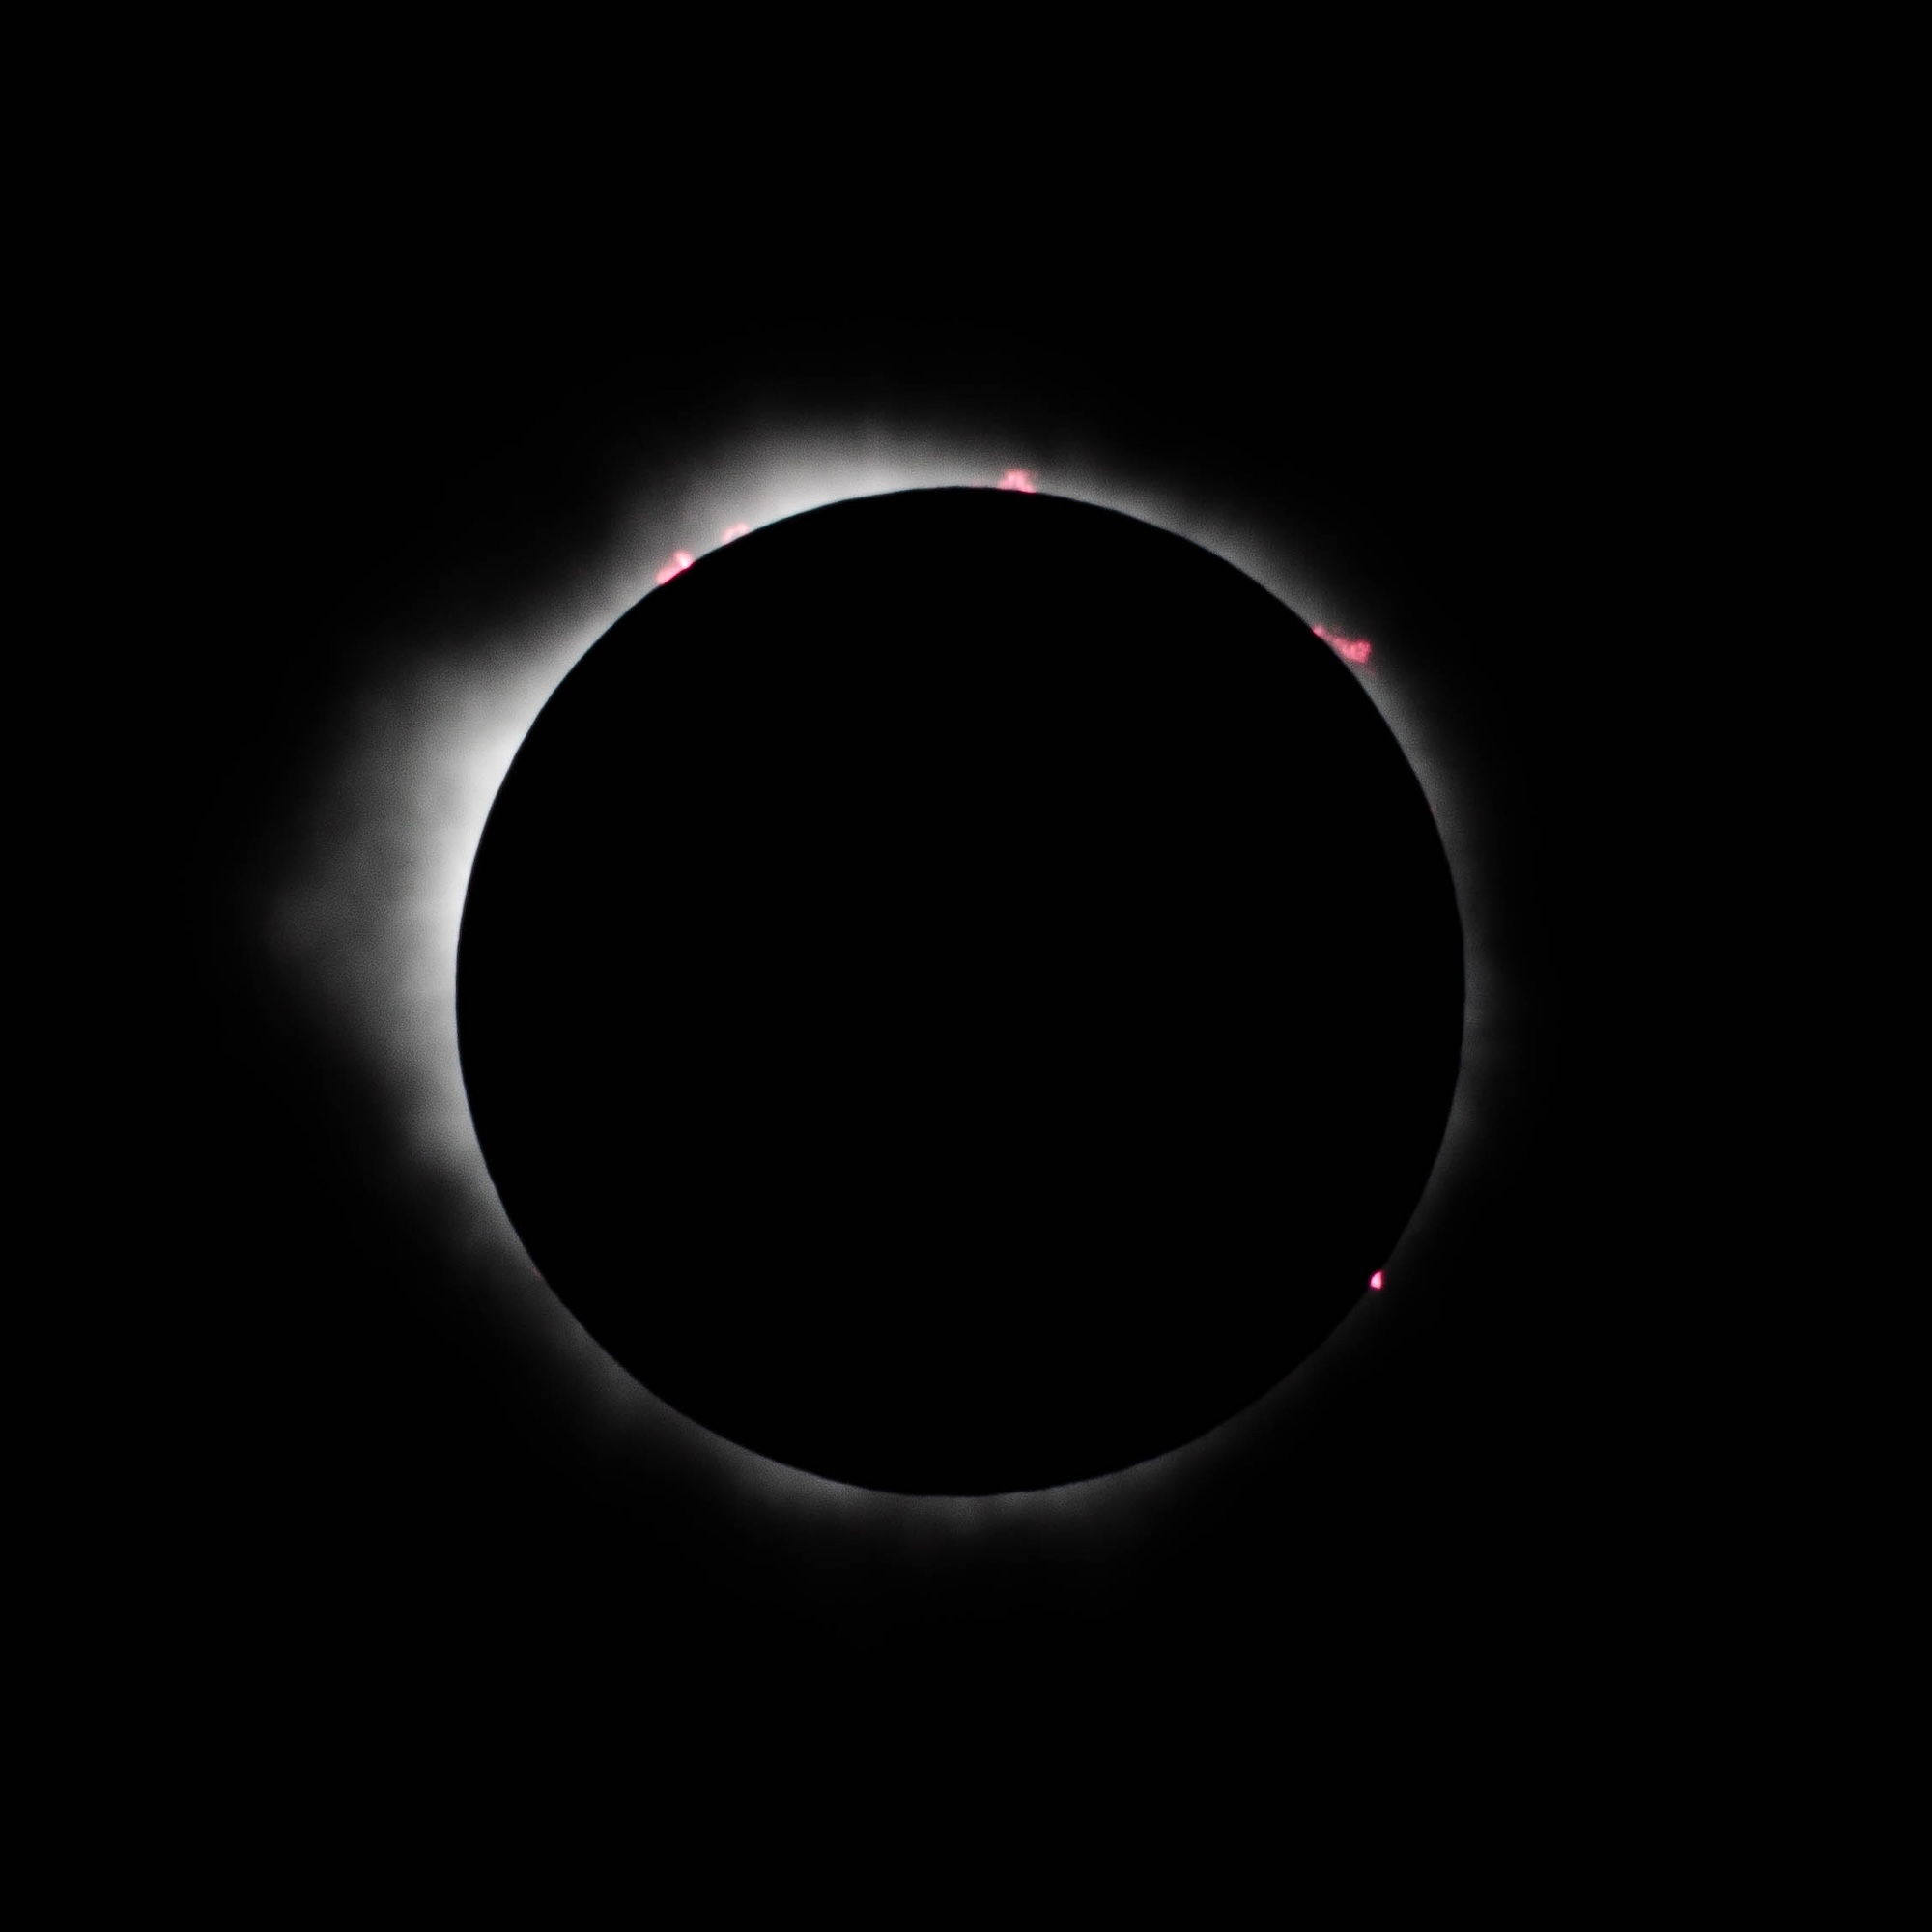
 Shot at 2sec, you can see the corona extend longer